


This article is valid for organization administrators.
To facilitate the management of local tools that are common to several schools within an organisation, you can create local tools on organisational level and distribute them to the schools that will use them. This is done as follows:
1. Create local tools
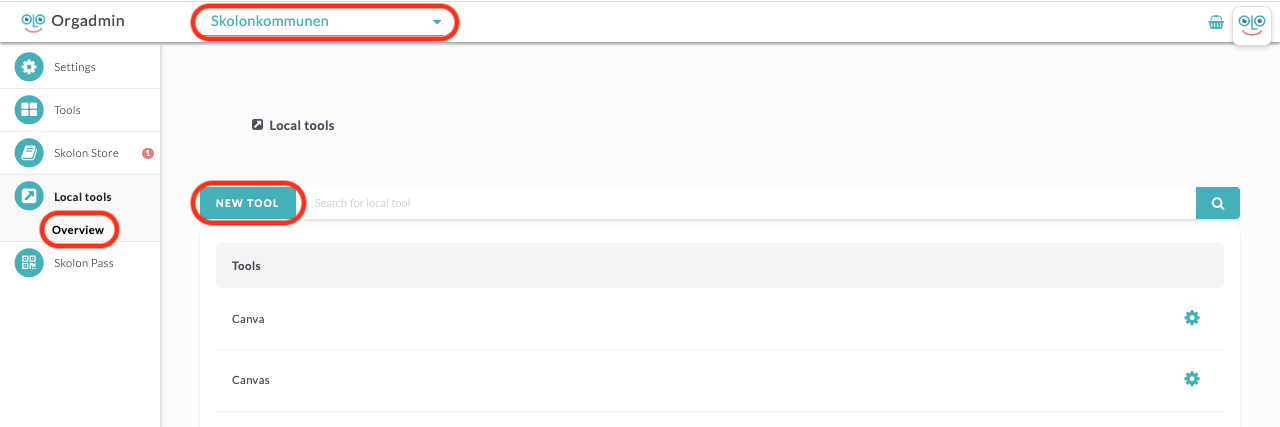
Open the School Admin tool and select organisation level via the drop down menu.
Click Local Tools and then Overview.
Click on New Tool
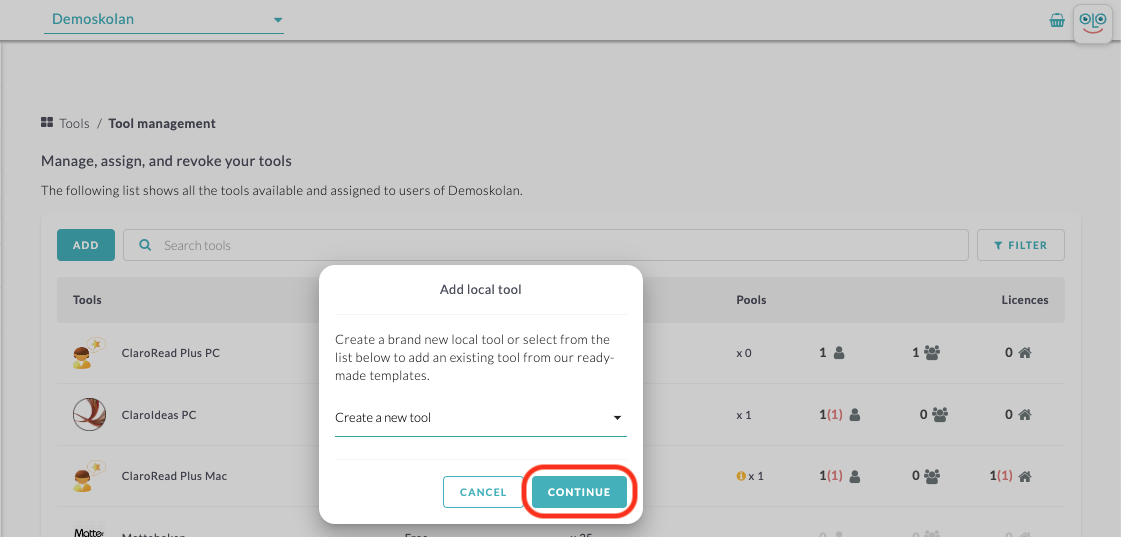
In the box that appears, make sure it says Create a new tool, and then click Continue.
Note that you can also use existing templates to create the tool, more information about this can be found here: How to add a local tool from templates(länka)
2. Information about the local tool
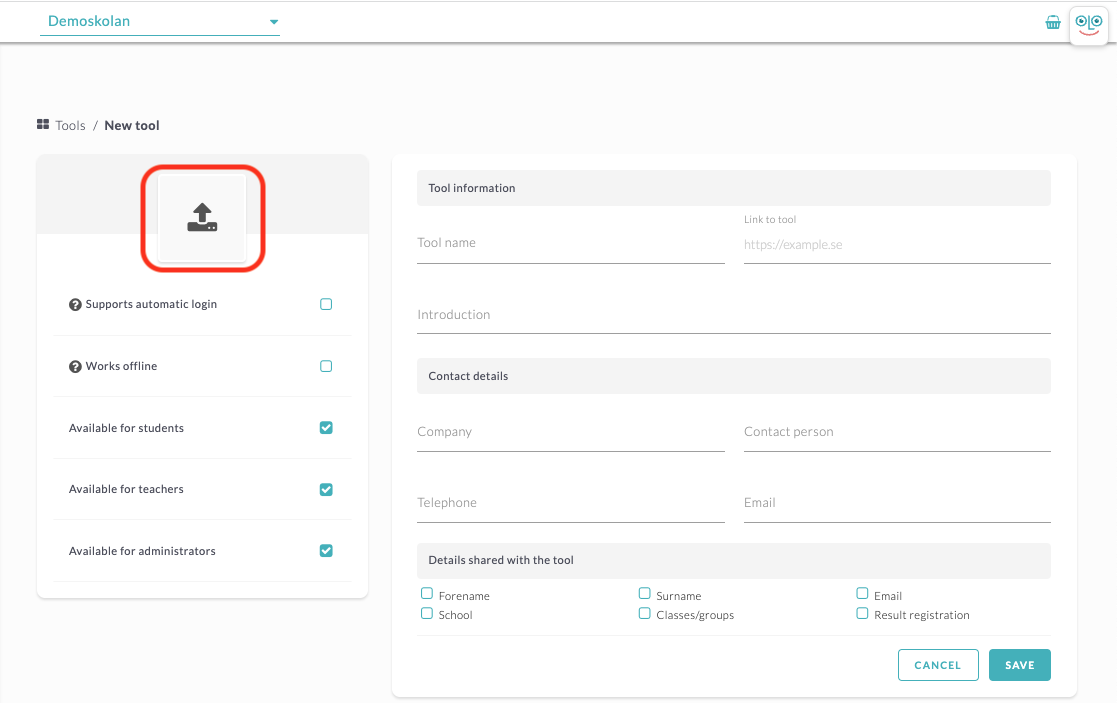
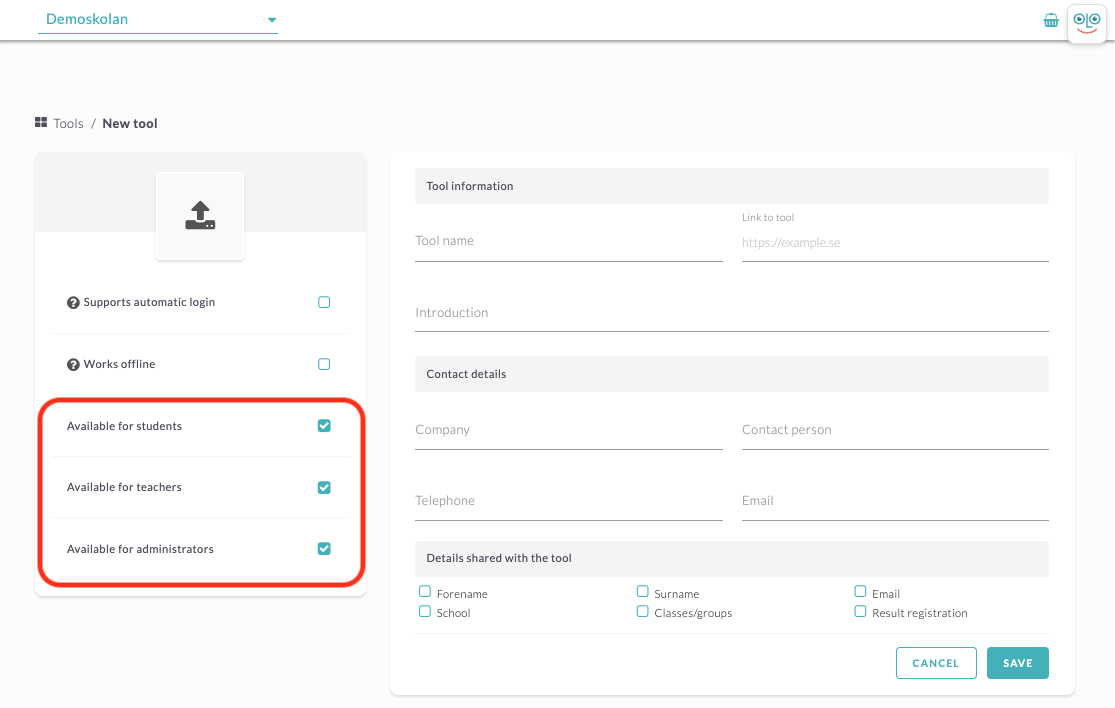
You need to fill in the following about the tool:
1. Name of the tool: Title of the tool. This can be seen in the user's collection.
2. Introduction: A brief description of what kind of tool it is.
3. Link to the tool: When the user clicks on the tool in their collection, it will be sent to the link you enter here. Enter the link with http://www in the introduction.

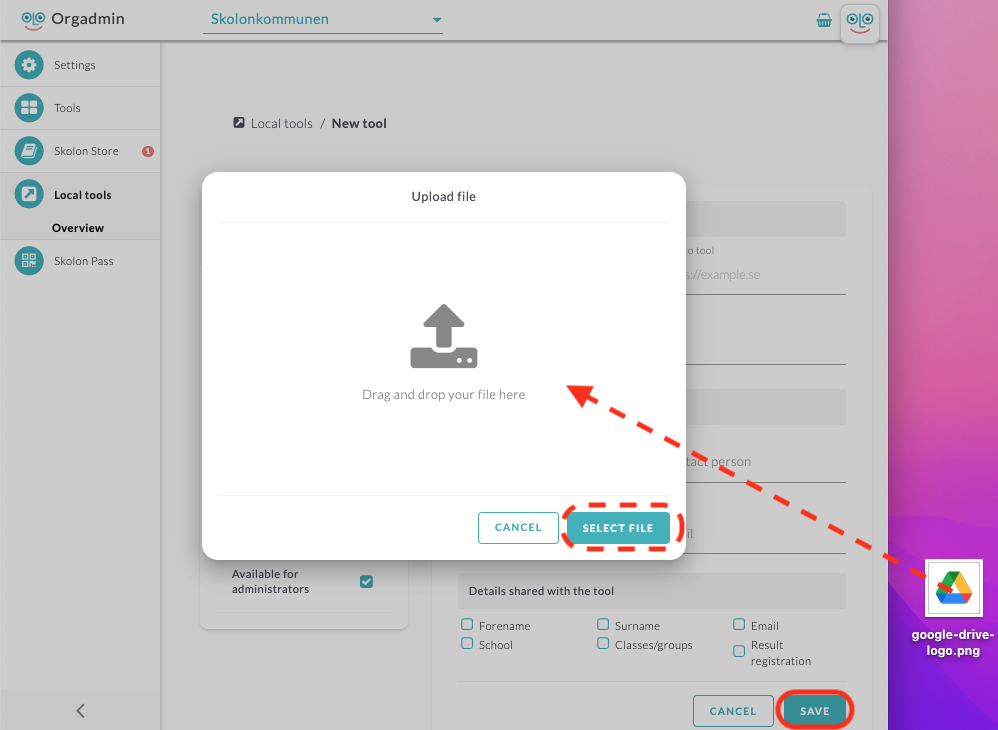
You must also upload an icon that appears for the tool in the user's collection. To do this, click on the white box with a gray arrow in it.
Drag and drop the file you want to use as an icon in the field that appears in the middle of the page or click the Select File button to locate the file on your computer.
The image should be 256x256 pixels from the beginning to fit best as an icon, but here in the upload tool, you can click the plus and minus characters to fit your image in the icon box.
Then click Save, and you will return to the step where you filled in other information about the tool.
2. Supplementary information about the tool
In this step, you can also specify for which roles the tool should be available. You can choose to assign to students, teachers or administrators.
Two more options are available here. If the local tool you added uses the same sign-in solution as Skolon, such as Google or Microsoft, you can then check supports automatic login. The local tool icon is then displayed without the Local Tools extension and looks more like the integrated tools and shows the user that no additional login is required.
If the tool works without an internet connection (offline), you can check this option.
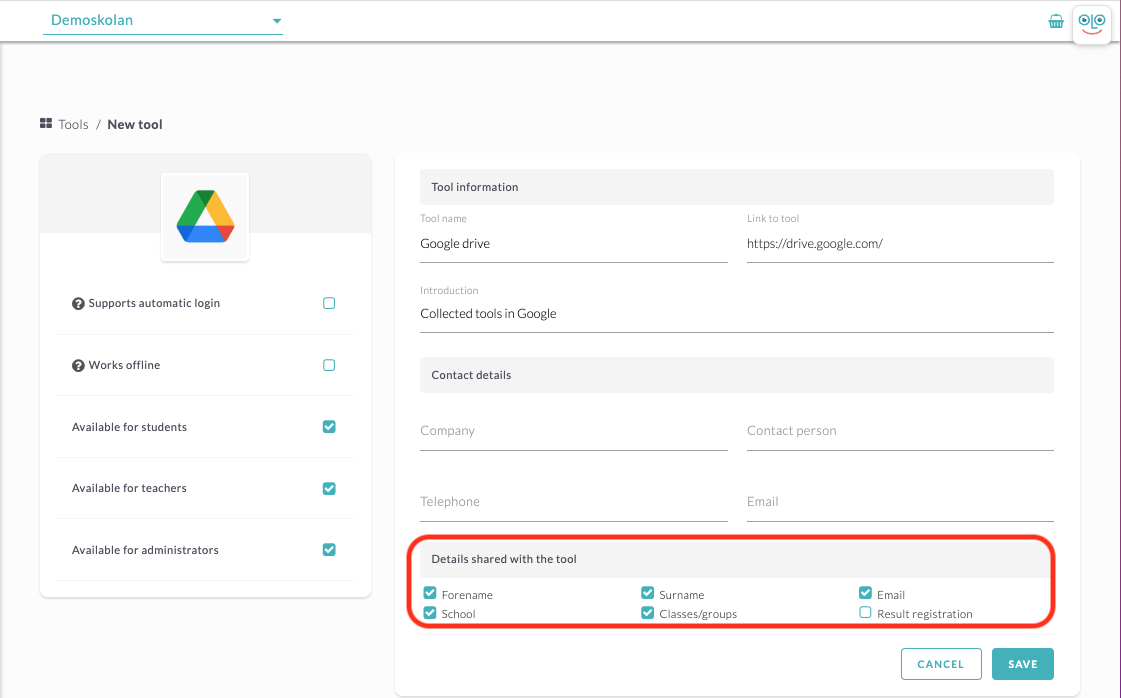
4. Details shared with the tool
For local tools, you can also under Details shared with the tool mark which personal data the tool handles, this so that in Skolons Datavisualisering you will also receive information about your local tools. First name, last name, e-mail address, school and class / group are the most common, but for the tools that also save progress and / or results, you can also check Result registration.
When you feel finished with selection, text and image etc, click Save.
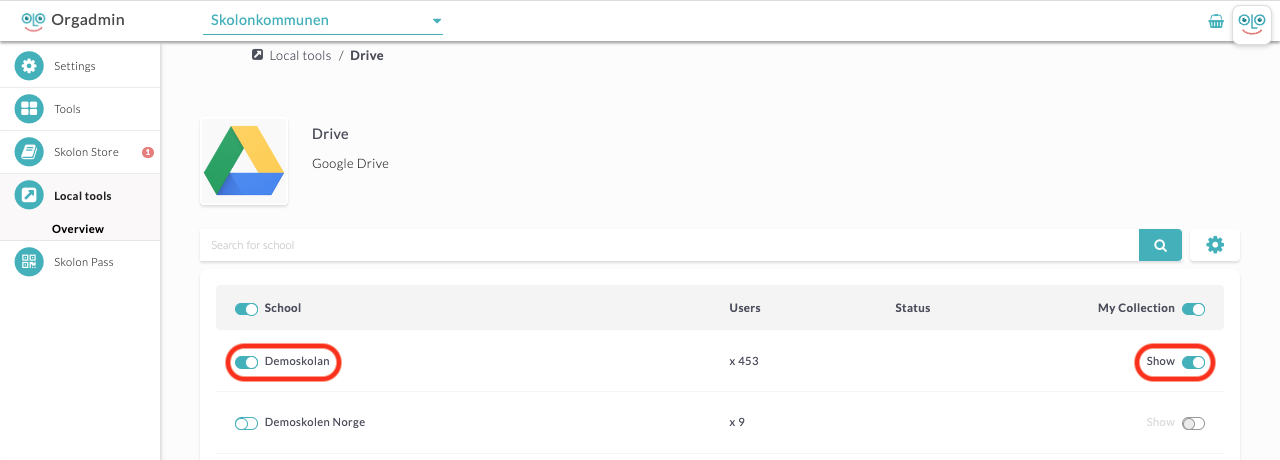
5. Distribute the tool
Now you come to the last step, where you can choose to distribute the tool to one or more schools in your organisation. At the far left of the page you activate the tool for each school, at the far right you can choose whether it should be displayed in the users' "My collection" or not.
When the tool is activated for the school, the administrator at each school can fine-tune access to specific classes / groups or users. For more information on this, see section 5 of the article: Add a local tool to Skolon(länka)