


In Skolon, you as an administrator can add your own local tools. This means that you post a link to something that you want users to be able to reach and use in Skolon together with other digital tools and teaching aids. Some tools are already included as prepared templates. How is it done? Come along!
Begin with:
1. Log in to Skolon.
2. Go to My Collection and click on the School Admin icon.
3. In the menu on the left edge, click on the Tools category and then Tools Management.
4. Click the Add button and then Local Tool.
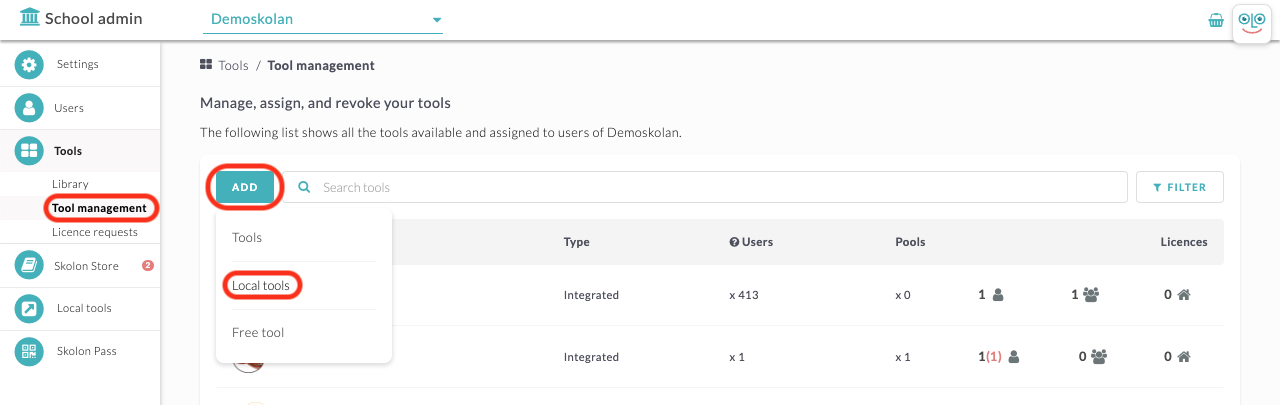
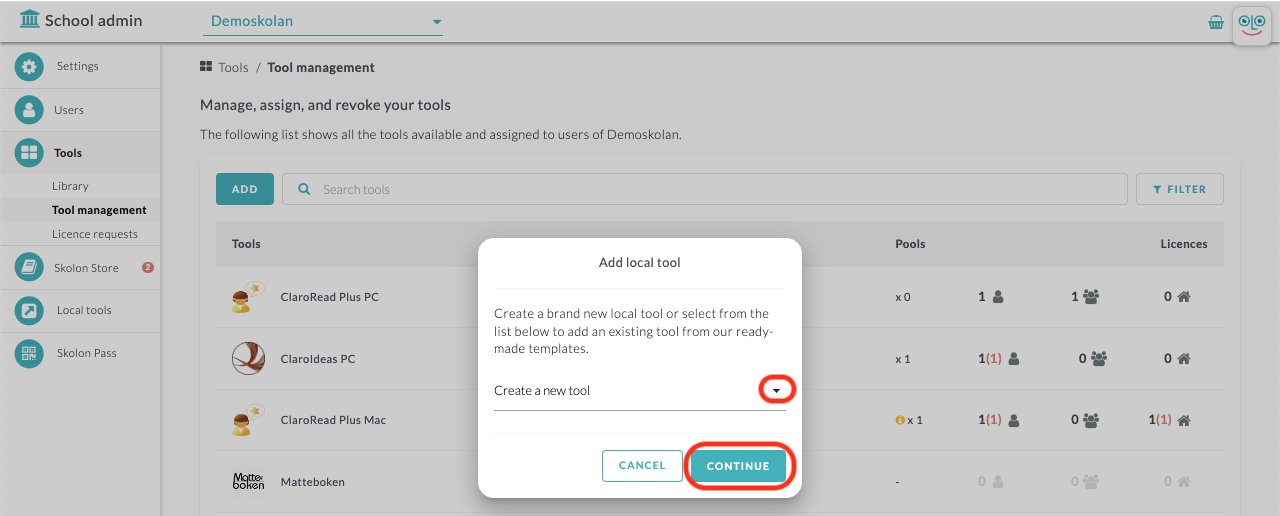
Now you get a box.
Click on the arrow in the list to get a list of which tools are available as prepared templates and select the tool you want to create.
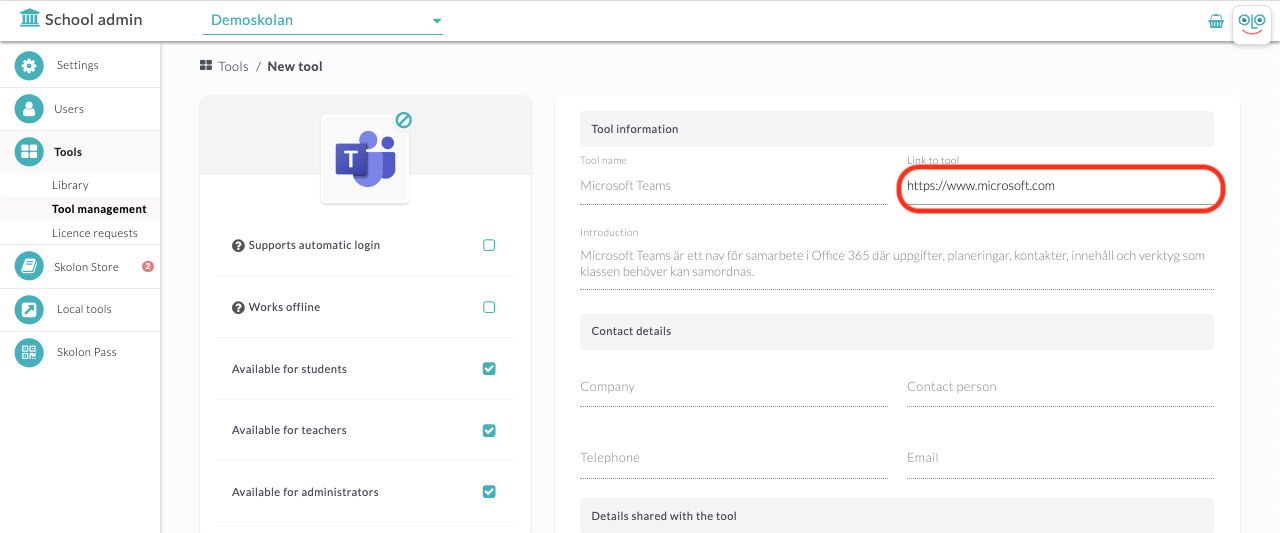
What you need to do in the next step is to enter a link to the tool - all other information and logos are already entered. The link you will enter is the page that the user will end up on when the user clicks on the tool in their collection. Start by writing http://www. followed by the rest of the address. Then click Save.
Now you come to the last step, where you can choose to distribute the tool directly to one or more users' collections. You can:
1. Select whether you want to assign the tool to schools, classes or groups under the Groups tab, or to individual users via the Users tab.
2. Select the groups or users you want to add the tool to. Click the Add button to assign the tool. All groups or users who have a check mark in the box will have access to the tool and it will appear in their My Collection. You also see which group or user has already added the tool.
Done!
